A little couture glow-up for your Off to Cannes Dress.
Want to give your Off to Cannes Dress that extra luxe, twirly finish? Horsehair braid is the secret ingredient that makes a hem crisp, structured, and full of movement. It’s the kind of detail that feels designer-level but is actually really easy to add.
What You’ll Need ✂️🧵
- Your Off to Cannes Dress
- Horsehair braid (choose a width that suits your look — 2.5–5 cm / 1–2 inches)
In this tutorial, we are using 1 inch (2.5 cm) horsehair braid. - Bias tape for a clean finish
- Sewing machine
- Thread
- Scissors
- Pins or clips
- Iron
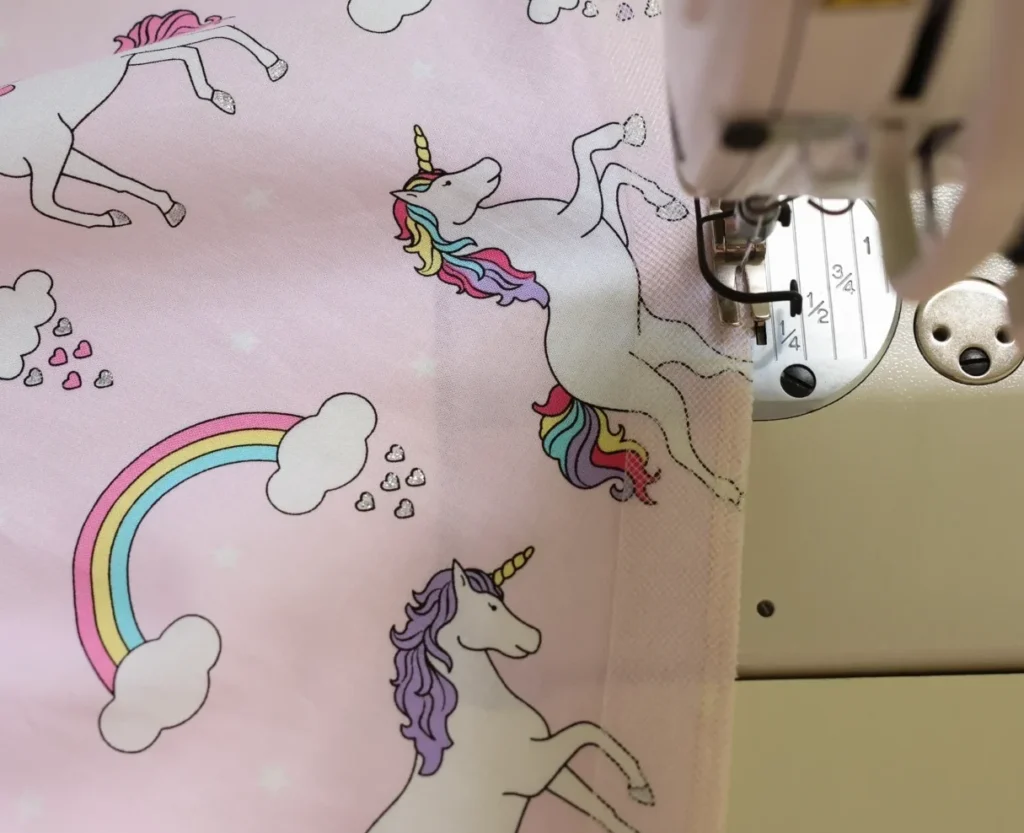
Step 1: Prep the Hem 🪡✨
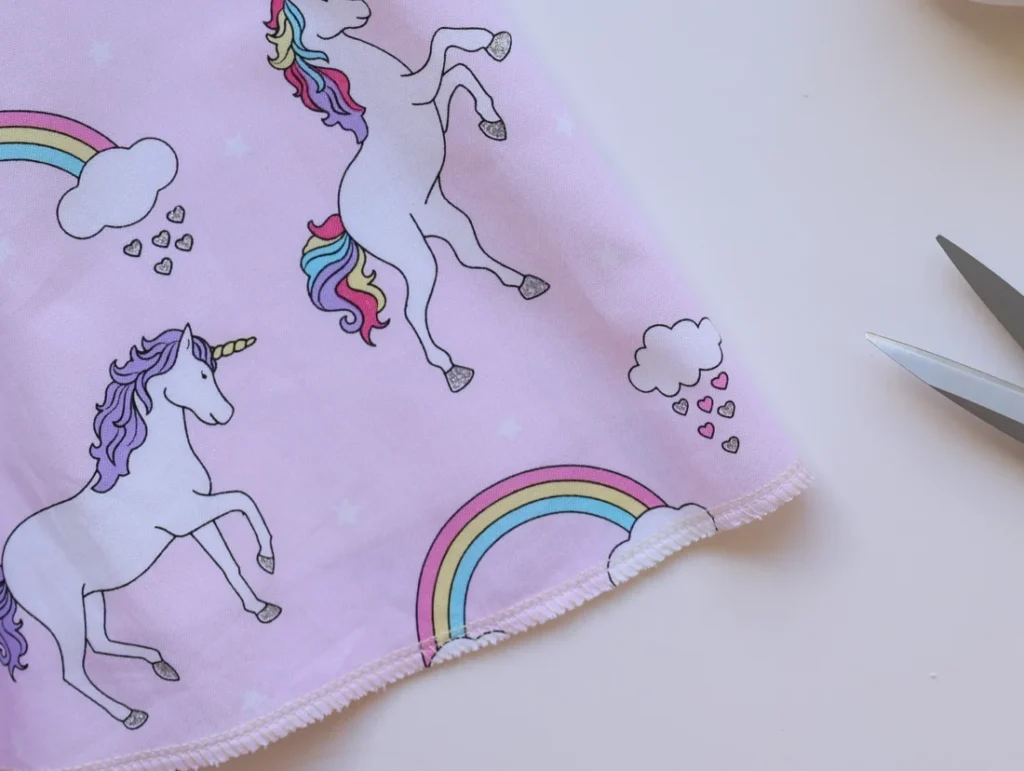
Start by finishing the raw edge of your dress hem with a serger (or zigzag stitch). This keeps everything neat and ready for the horsehair braid.
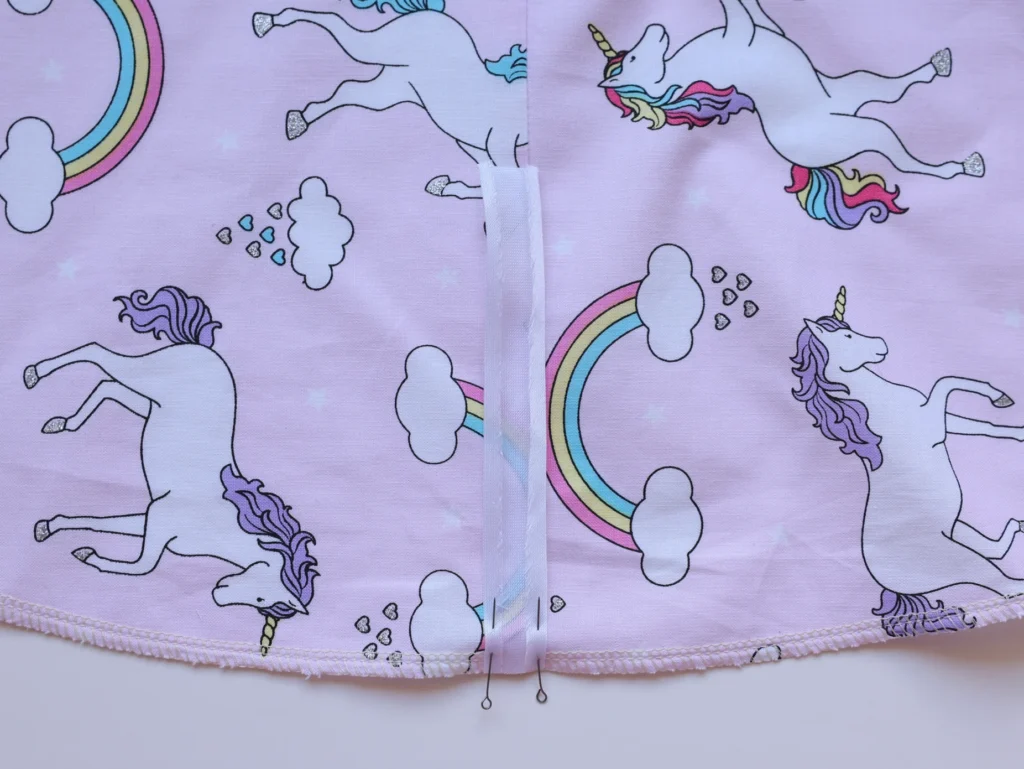
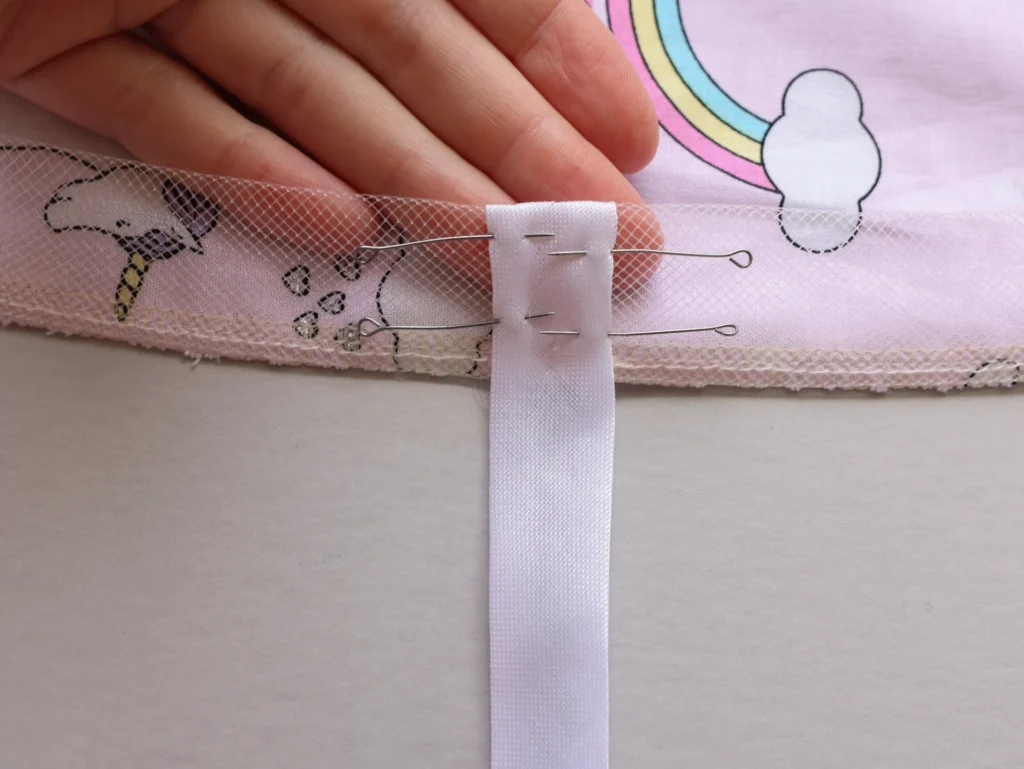
Step 2: Add Bias Tape 🎀
For a clean finish, use premade or self-made bias tape. Place it right side to right side with the hem edge and stitch one short end down. This will create a little casing to tuck the horsehair braid inside.
Step 3: Choose the Right Horsehair 🌸
Here’s what horsehair braid looks like:
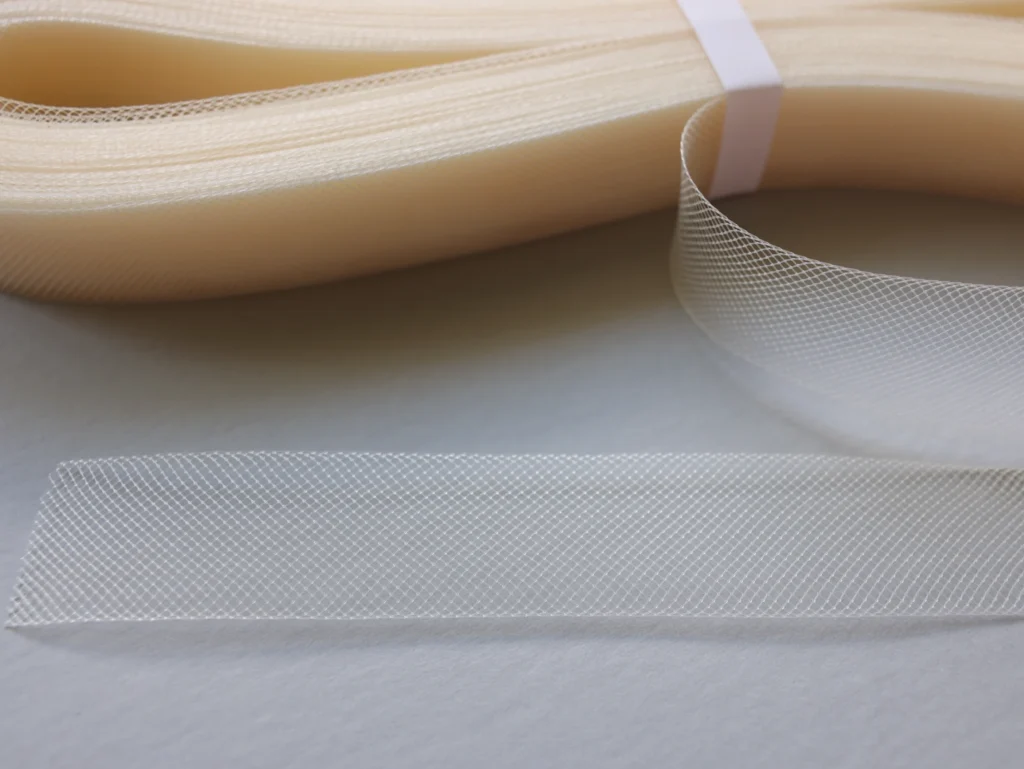
For smaller sizes like children’s or toddlers’ dresses, we recommend using 2.5 cm / 1 inch wide horsehair braid. It’s sturdy enough to give structure but still soft and flexible for little hems. When shopping, look specifically for the soft type of horsehair braid — it curves more easily and gives a smoother finish.
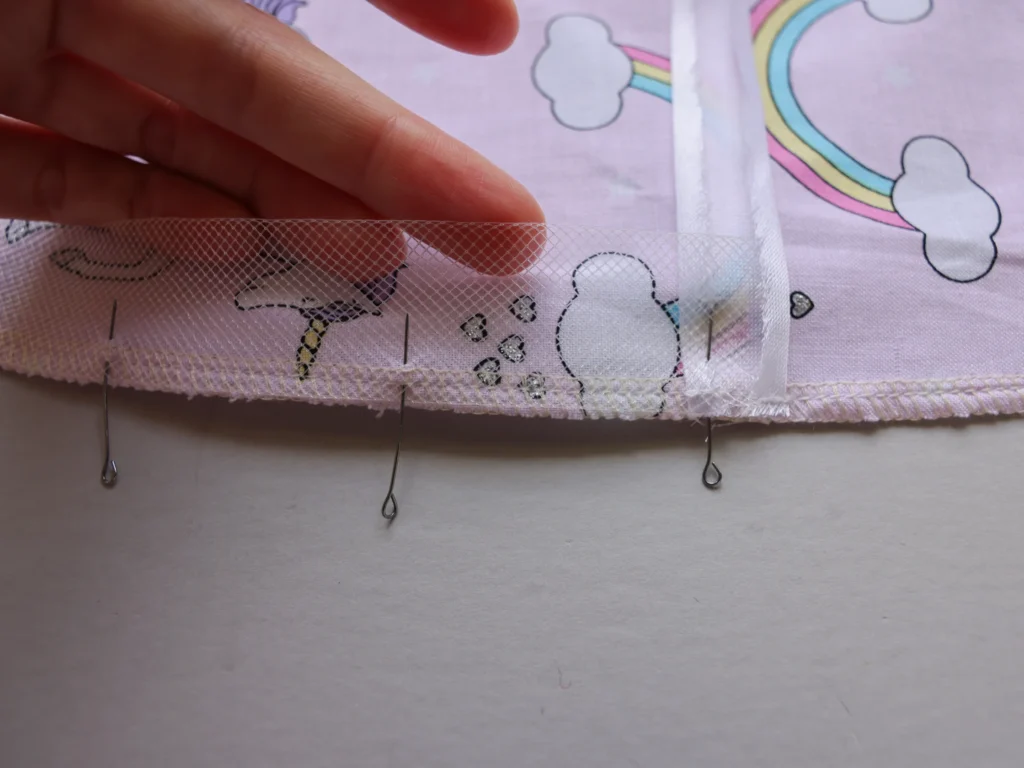
Step 4: Position the Horsehair 🌀
- Place the dress right side up in front of you.
- Lay the horsehair braid along the hem so the straight edge of the braid is aligned with the serged hem edge.
- Position the short raw edge of the horsehair braid right inside the center fold of the bias tape on the wrong side.
- This setup allows the bias tape to wrap over and neatly enclose the raw edge once stitched.
- Pin or clip as you go, keeping the hem, the horsehair braid, and the bias tape perfectly lined up.
Step 5: Stitch It Down 🧵
- Sew the horsehair braid directly to the hem edge with a straight stitch.
- Keep your stitches close to the hem edge so the braid sits flat and doesn’t flip outward.
- Sew through all the layers — the hem, the horsehair braid, and the bias tape — so the bias tape fully encloses the raw edge of the horsehair.
- Continue all the way around the hem, smoothing as you go to keep the curve even.
Step 6: Overlap & Finish 🌸
- When you reach the starting point on the other side, guide the end of the horsehair braid so it finishes right at the center of the bias tape fold, the same way you started.
- Wrap the bias tape around the horsehair braid at this spot so the raw edges are fully enclosed inside.
- Pin it in place securely to keep everything neat and closed before stitching.
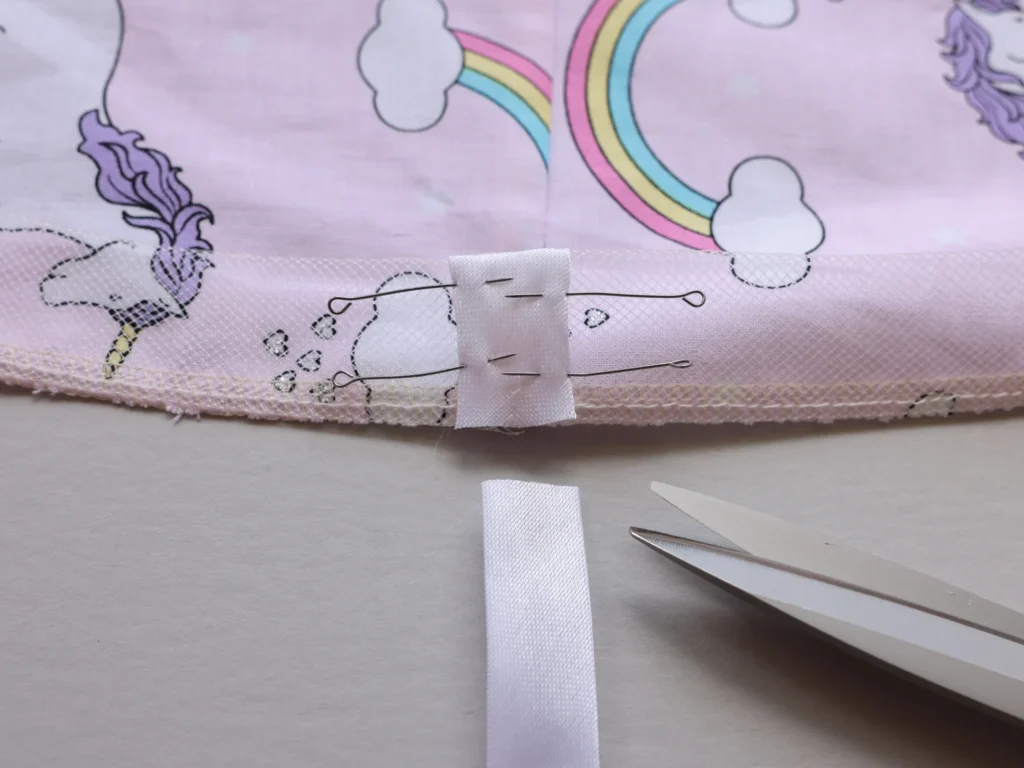
Step 7: Trim & Secure ✂️
- Once the horsehair braid is fully enclosed, trim any extra bias tape at the end.
- Make sure you cut it exactly in line with your hem stitching.
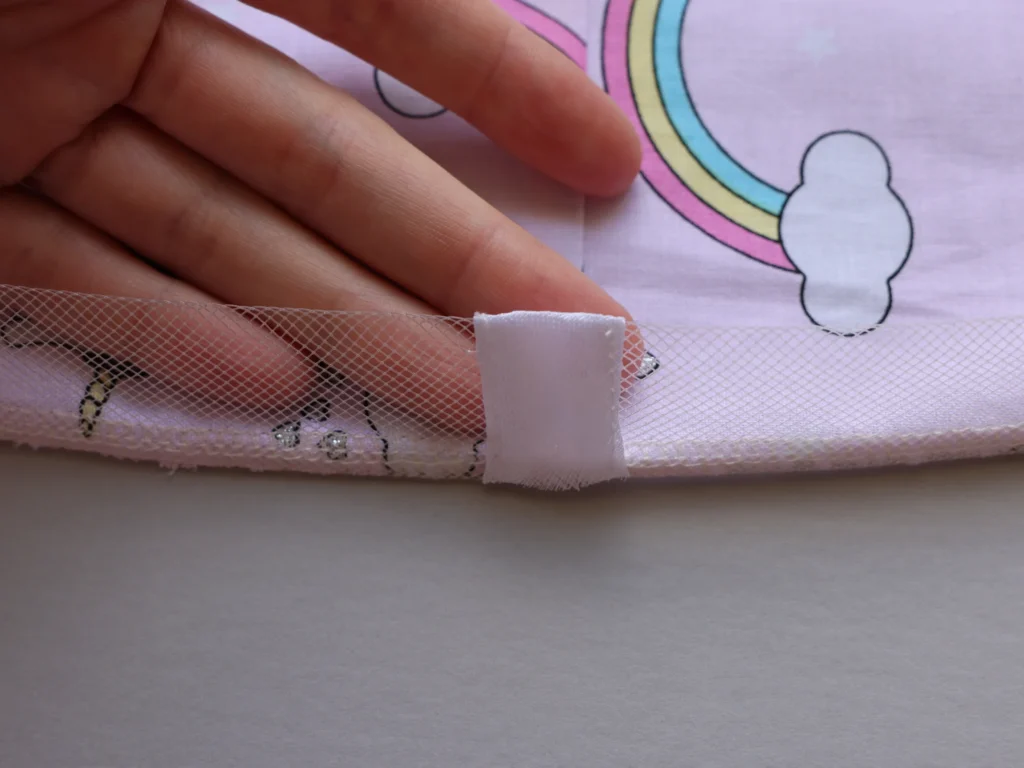
Step 8: Stitch the Bias Tape Closed 🧵
- With the bias tape already wrapped around the horsehair braid and pinned, sew along the folded edge of the bias tape.
- Make sure you catch all layers — the horsehair braid, and both sides of the bias tape.
- Once stitched, the horsehair braid should be neatly encased inside the bias tape, ready to be flipped up in the next step.
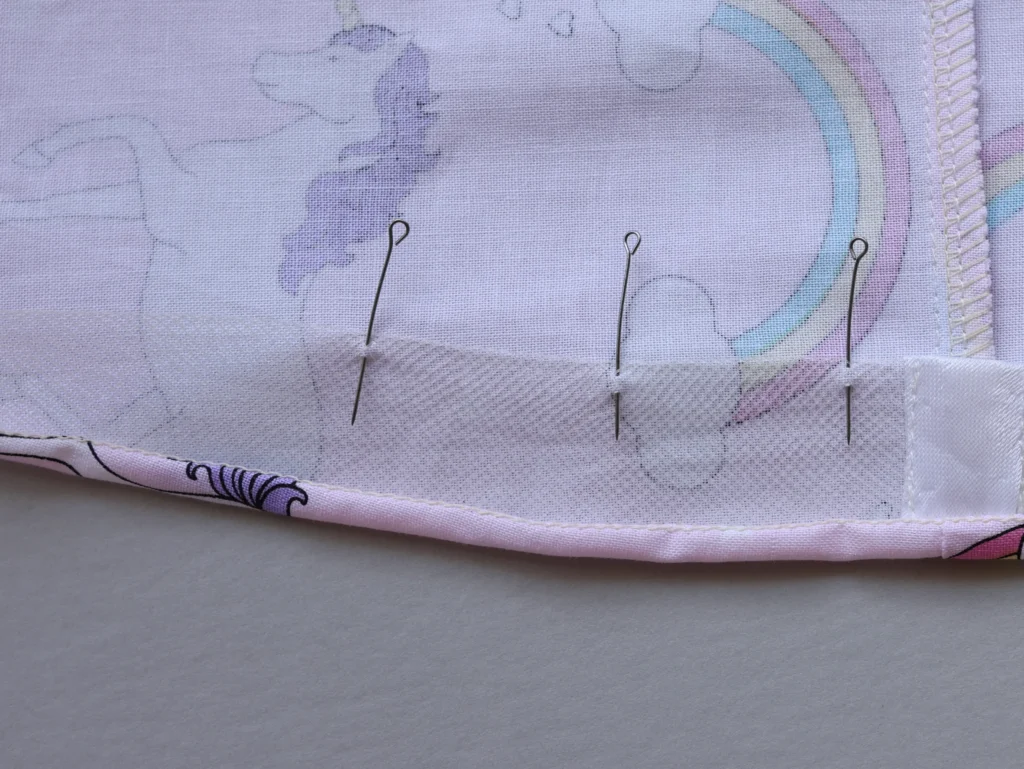
Step 9: Flip & Pin the Horsehair 🌸
- Flip the enclosed horsehair braid up toward the wrong side of the dress.
- Smooth it so the bias tape edge sits flat along the inside of the hem.
- Pin the top edge of the horsehair braid to the fabric on the wrong side.
- Because this is a circular hem, the top edge of the horsehair is slightly longer than the fabric above it. Ease that extra length in gently as you pin. Let the braid “shrink in” so it hugs the curve of the skirt without rippling or puckering.
Step 10: Stitch the Horsehair in Place 🧵
- With the horsehair flipped up and pinned on the wrong side, sew along the top edge of the horsehair braid.
- Stitch through both the braid and the fabric, keeping your line neat and even.
- As you sew, continue easing in any extra fullness so the braid lies flat against the curve of the skirt.
- Once stitched, the horsehair is fully secured, and the hem has a smooth, structured finish.
- Give it a gentle press with to set the shape.
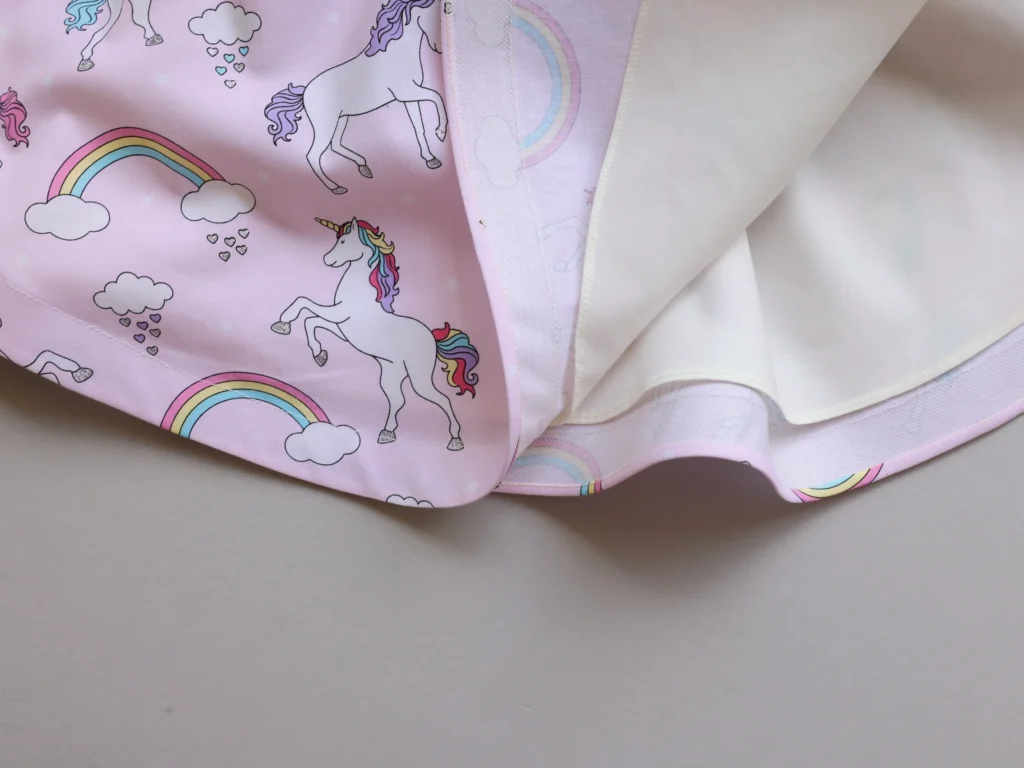
With your hem finished in horsehair braid, the Off to Cannes Dress has that dreamy couture look — crisp, twirly, and unforgettable. If you make this dress, we’d love to see it! Tag us on Instagram at @dearbillypatterns so we can share your gorgeous makes with our community.
Comments no responses